

今天给大家介绍的是百创智造的分析软件 “BSCMatrix ”, 该软件可以完成BMKMANU DG1000下机数据到矩阵文件等流程文件的生成。BSCMatrix下载链接:http://www.bmkmanu.com/portfolio/tools部署位置: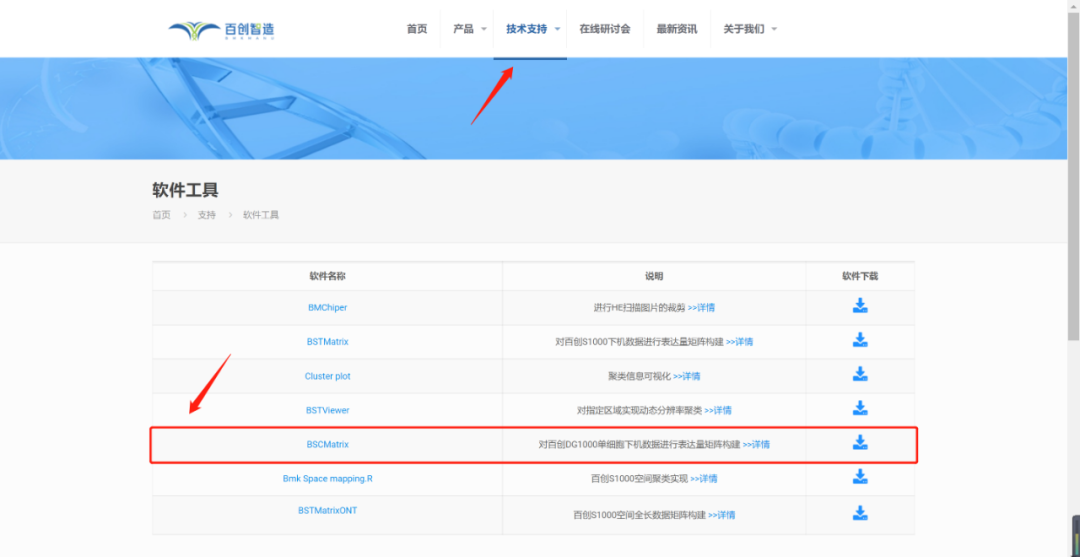
1、conda安装
#下载
wget https://repo.anaconda.com/miniconda/Miniconda3-py39_4.12.0-Linux-x86_64.sh
#下载完成之后运行
sh Miniconda3-py39_4.12.0-Linux-x86_64.sh
————> #按提示安装
#安装完成后执行以下命令
source ~/.bashrc
#帮助命令
conda list #查看当前环境下用conda安装的软件
conda remove fastqc # 删除该环境中的软件
conda remove -n rnaseq fastqc # 删除指定环境下的软件
conda update fastqc #升级指定的软件
conda update conda #升级conda本身
2、conda环境配置
conda create -n (环境名) python=3.9
#激活创建的环境
conda activate (环境名)
#添加镜像源
conda config –add channels https://mirrors.bfsu.edu.cn/anaconda/cloud/bioconda/
conda config –add channels https://mirrors.bfsu.edu.cn/anaconda/cloud/conda-forge/
conda config –add channels https://mirrors.bfsu.edu.cn/anaconda/pkgs/free/
conda config –add channels https://mirrors.bfsu.edu.cn/anaconda/pkgs/main/
#查看镜像源
conda config –show-sources
3、安装python模块
#BSCMatrix
pip3 install -i https://pypi.tuna.tsinghua.edu.cn/simple plotly
pip3 install -i https://pypi.tuna.tsinghua.edu.cn/simple lz4
pip3 install -i https://pypi.tuna.tsinghua.edu.cn/simple Cython
pip3 install -i https://pypi.tuna.tsinghua.edu.cn/simple h5py
pip3 install -i https://pypi.tuna.tsinghua.edu.cn/simple scipy
pip3 install -i https://pypi.tuna.tsinghua.edu.cn/simple tables
pip3 install -i https://pypi.tuna.tsinghua.edu.cn/simple sklearn
4、运行setup.py
cd BSCMatrix_v1.7/cellcalling/
python setup.py build_ext -i
5、安装star和samtools
conda install star=2.6.1d
conda install samtools
6、运行
#输入数据准备
1)测序数据:双端测序 fastq 数据。
2)参考基因组数据:基因组序列文件,gtf 文件,gff 文件。
3)features.tsv 文件:可使用 gtf 文件生成,参考命令:perl ./tools/features_generate_v1.1.pl -i xxx.gtf -o features.tsv
4)STAR 基因组索引文件:可使用基因组序列文件和 gtf 文件生成,参考命令:
STAR –runThreadN 8 –runMode genomeGenerate –genomeDir star/ –genomeFastaFiles genome.fa –sjdbGTFfile gene.gtf
#配置文件编写
config.txt:
### 数据文件
## 测序数据:步骤 1、2 使用
FQ1 /path/to/read_1.fastq
FQ2 /path/to/read_2.fastq
## 参考基因组 STAR 索引文件、gff 文件:步骤 2 使用
INDEX /path/to/STAR/index/dir/
GFF /path/to/ref/gene/gff3/file
## features.tsv 文件:步骤 3 使用
FEATURE /path/to/features.tsv
## 输出目录及输出前缀
OUTDIR /path/to/result/dir/
PREFIX outfile-prefix
### 程序参数
## fastq2BcUmiSC
MinKmerNum 3 #最低匹配 kmer 数
## Umi2Gene
Sjdboverhang 100 #STAR 建库时使用的-sjdboverhang 参数值,默认 100
Threads 8 #STAR 比对线程数## QC
EC 3000 #期望细胞数
#流程运行
1)流程说明:
流程分为 5 个步骤,如下所示:
A)步骤 1:运行 fastq2BcUmiSC,识别 fastq 数据中的 barcode、umi。
B)步骤 2:运行 Umi2Gene,将 reads 与参考基因组比对,得到每个 UMI 对应的基因信息。
C)步骤 3:运行 MatrixMake,获得基因表达矩阵。
D)步骤 4:运行 QC,过滤基因表达数据与统计。
E)步骤 5:运行 WebReport,得到网页版报告。
2)流程参数:
-c config.txt 数据配置文件
-s 步骤选择,0 为运行 1-5 所有步骤,也可选择个别步骤单独运行,多个步骤中间使用“,”分割。
3)参考命令:
./BGTMatrix -c config.txt -s 0
./BGTMatrix -c config.txt -s 1,2,3,4,5
./BGTMatrix -c config.txt -s 1,2
报错及解决方法
#1 权限报错
./BSCMatrix: Permission denied
#解决
chmod 755 ./BSCMatrix
#2 perl报错
BEGIN failed–compilation aborted
#解决
yum groupinstall perl*
注:分析过程中如遇到报错,请保留dos界面截图联系我们,我们将及时为您处理。


 京公网安备 11011302003368号